
DIY Wall Painting: Tips for a Professional Finish


Preparation is Key
Before starting your DIY wall painting project, proper preparation is essential. Begin by clearing the room of furniture and covering flooring with drop cloths to protect against spills. Use painter's tape to mask off edges, trim, and any areas you want to keep paint-free. This step ensures clean lines and a professional finish.
Next, inspect the walls for any imperfections. Fill holes or cracks with spackling paste and sand the surface smooth once dried. Clean the walls with a damp cloth to remove dust and grime, which helps the paint adhere better.
Selecting the Right Paint and Tools
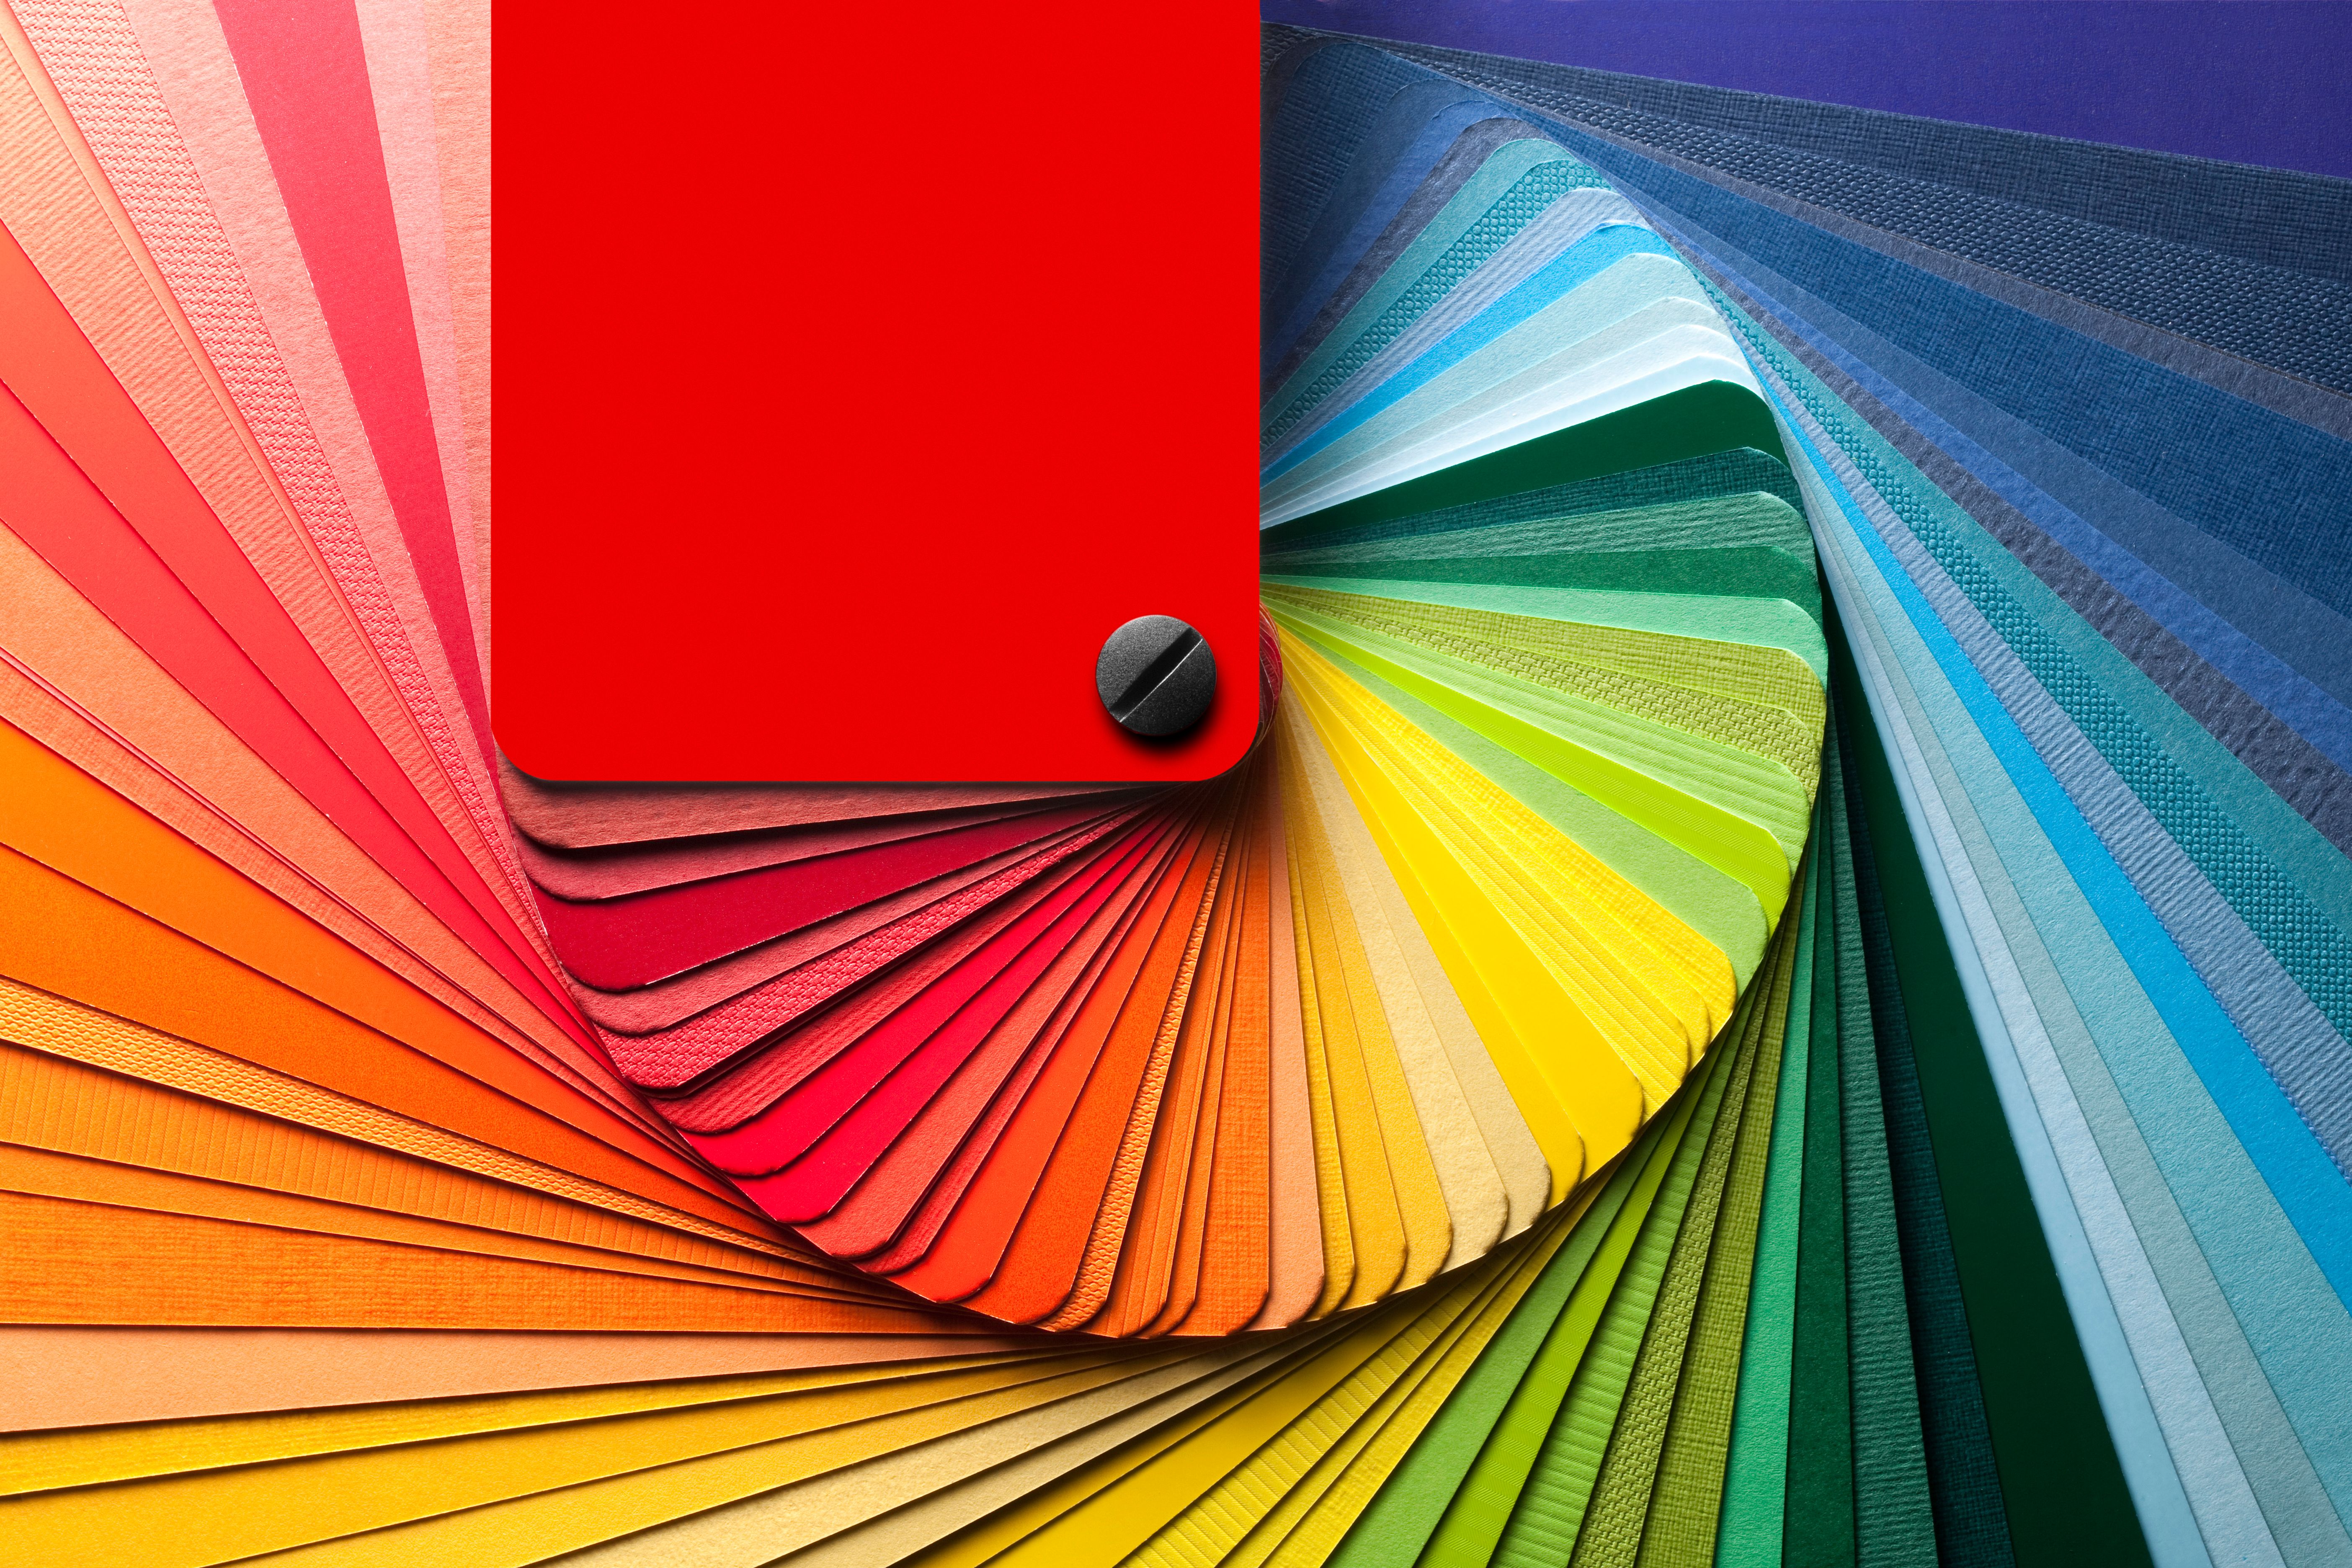
Choosing the right paint is crucial for achieving a professional look. Consider the room's purpose and lighting when selecting paint colors. For instance, lighter shades can make a small room feel more spacious, while darker hues create a cozy atmosphere.
Invest in quality brushes and rollers suited to your paint type. Synthetic brushes work well with water-based paints, while natural bristles are best for oil-based paints. A high-quality roller cover ensures even application and reduces the likelihood of streaks.
Mastering Technique
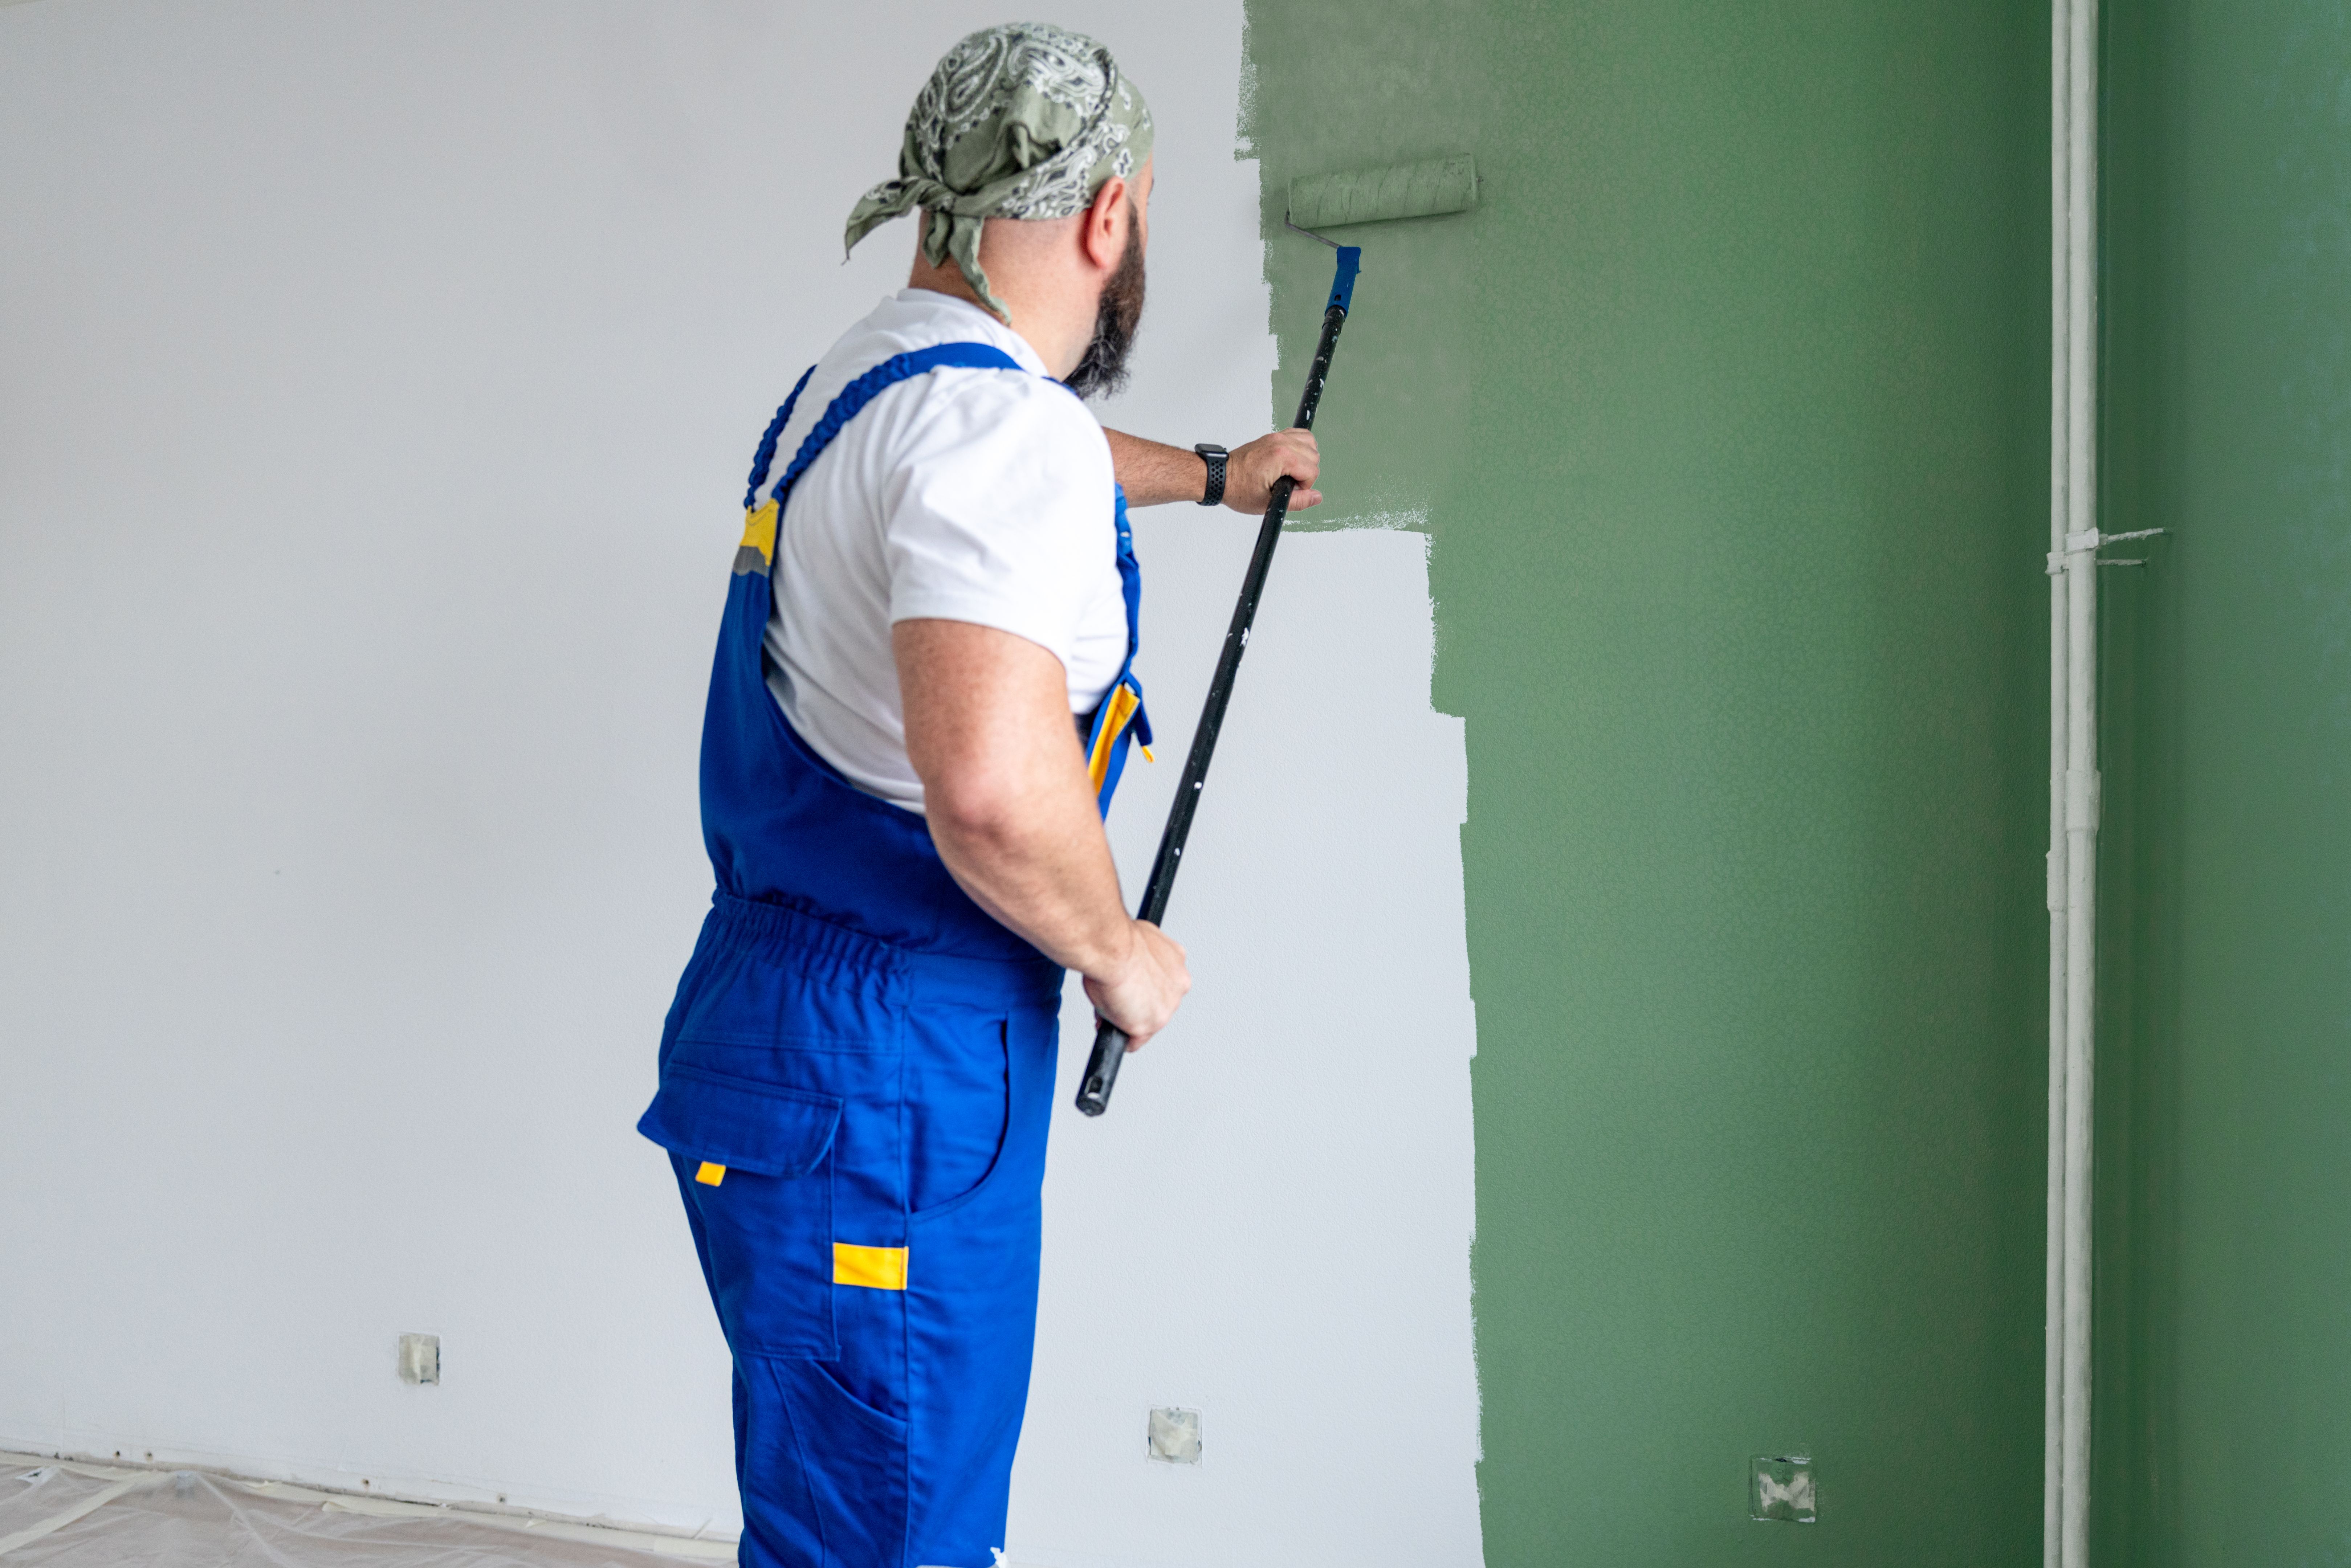
When painting, start with the edges using a brush before moving on to larger areas with a roller. This technique, known as "cutting in," creates a clean border around ceilings, baseboards, and corners. Maintain a wet edge to prevent visible lines when transitioning between sections.
Apply paint in a "W" or "M" motion with your roller for even coverage, and avoid overloading it with paint to prevent drips. Multiple thin coats are preferable to one thick coat, allowing each layer to dry completely before applying the next.
Troubleshooting Common Issues
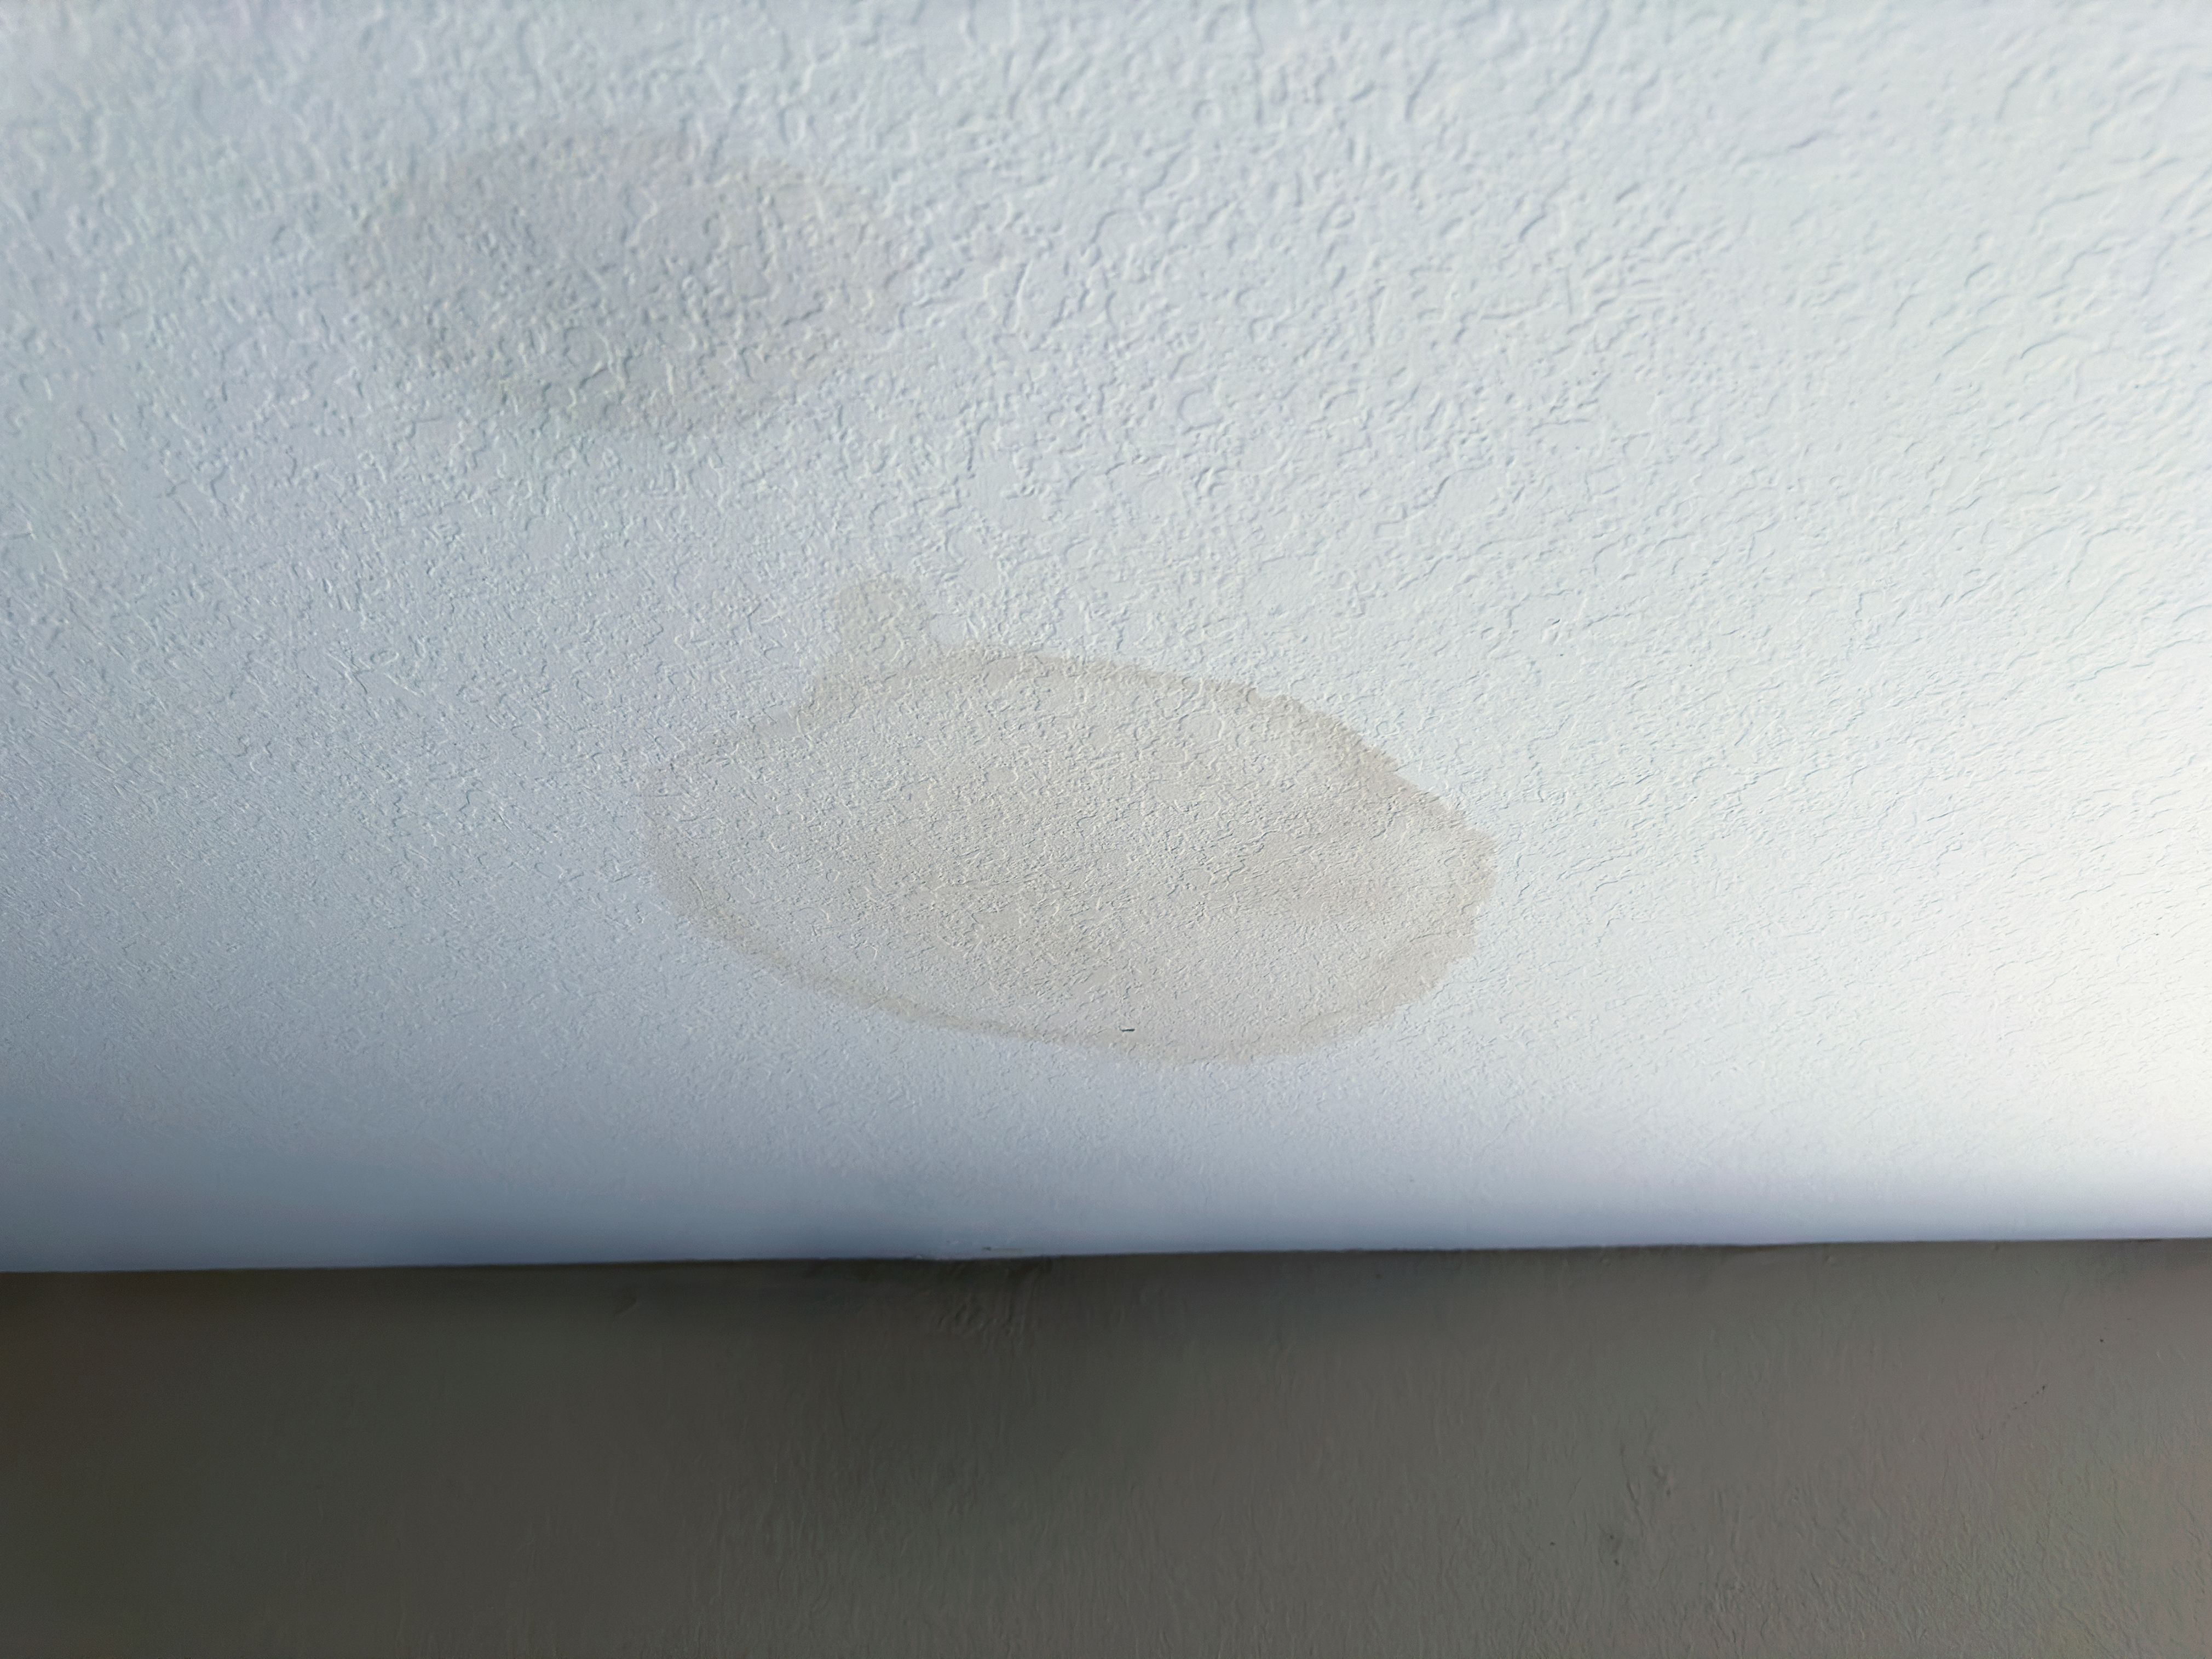
Despite careful preparation, issues like streaking or bubbling can occur. To address streaks, ensure consistent roller pressure and avoid pressing too hard. If bubbling appears, it's often caused by insufficient wall cleaning or applying paint too thickly.
In some cases, temperature and humidity can affect drying time and paint finish. Ensure the room is well-ventilated, and if conditions are humid, consider using a dehumidifier or fan to speed up the drying process.
Final Touches
After the last coat has dried, carefully remove painter's tape at a 45-degree angle to prevent peeling. Inspect your work for any missed spots or touch-ups needed. Use a small brush for precision when correcting any blemishes.
Once satisfied, allow the paint to cure fully before moving furniture back into the room. This step prevents damage to your fresh paint job and ensures it remains pristine.
Enjoying Your New Space
Completing a DIY wall painting project can transform your space and give it a fresh look. Whether you chose bold colors to make a statement or soft tones for a calming effect, your hard work will pay off with a room that feels personalized and inviting.
Don't forget to clean your brushes and rollers thoroughly after use so they're ready for your next project. With these tips in mind, you can tackle future painting endeavors with confidence and skill.