
5 Common Painting Mistakes and How to Avoid Them


Understanding the Basics of Surface Preparation
Before you even think about opening that can of paint, one of the most crucial steps is surface preparation. Many DIY enthusiasts and even some professionals overlook this step, leading to disappointing results. Surface preparation involves cleaning, sanding, and priming the area to ensure that the paint adheres properly and evenly.
Start by washing the walls with a mild detergent to remove any dirt, grease, or dust. Once clean, inspect the surface for any imperfections such as cracks or holes. Use a filler to patch up these areas and then sand them smooth. Finally, apply a primer to seal the surface and create the perfect canvas for your paint.

Choosing the Wrong Paint and Tools
Another common mistake is selecting the wrong type of paint or tools for your project. Paints come in various finishes like matte, satin, and gloss, each suited for different applications. For example, high-traffic areas may benefit from a more durable, washable finish, while a matte finish can hide imperfections better but might not be as easy to clean.
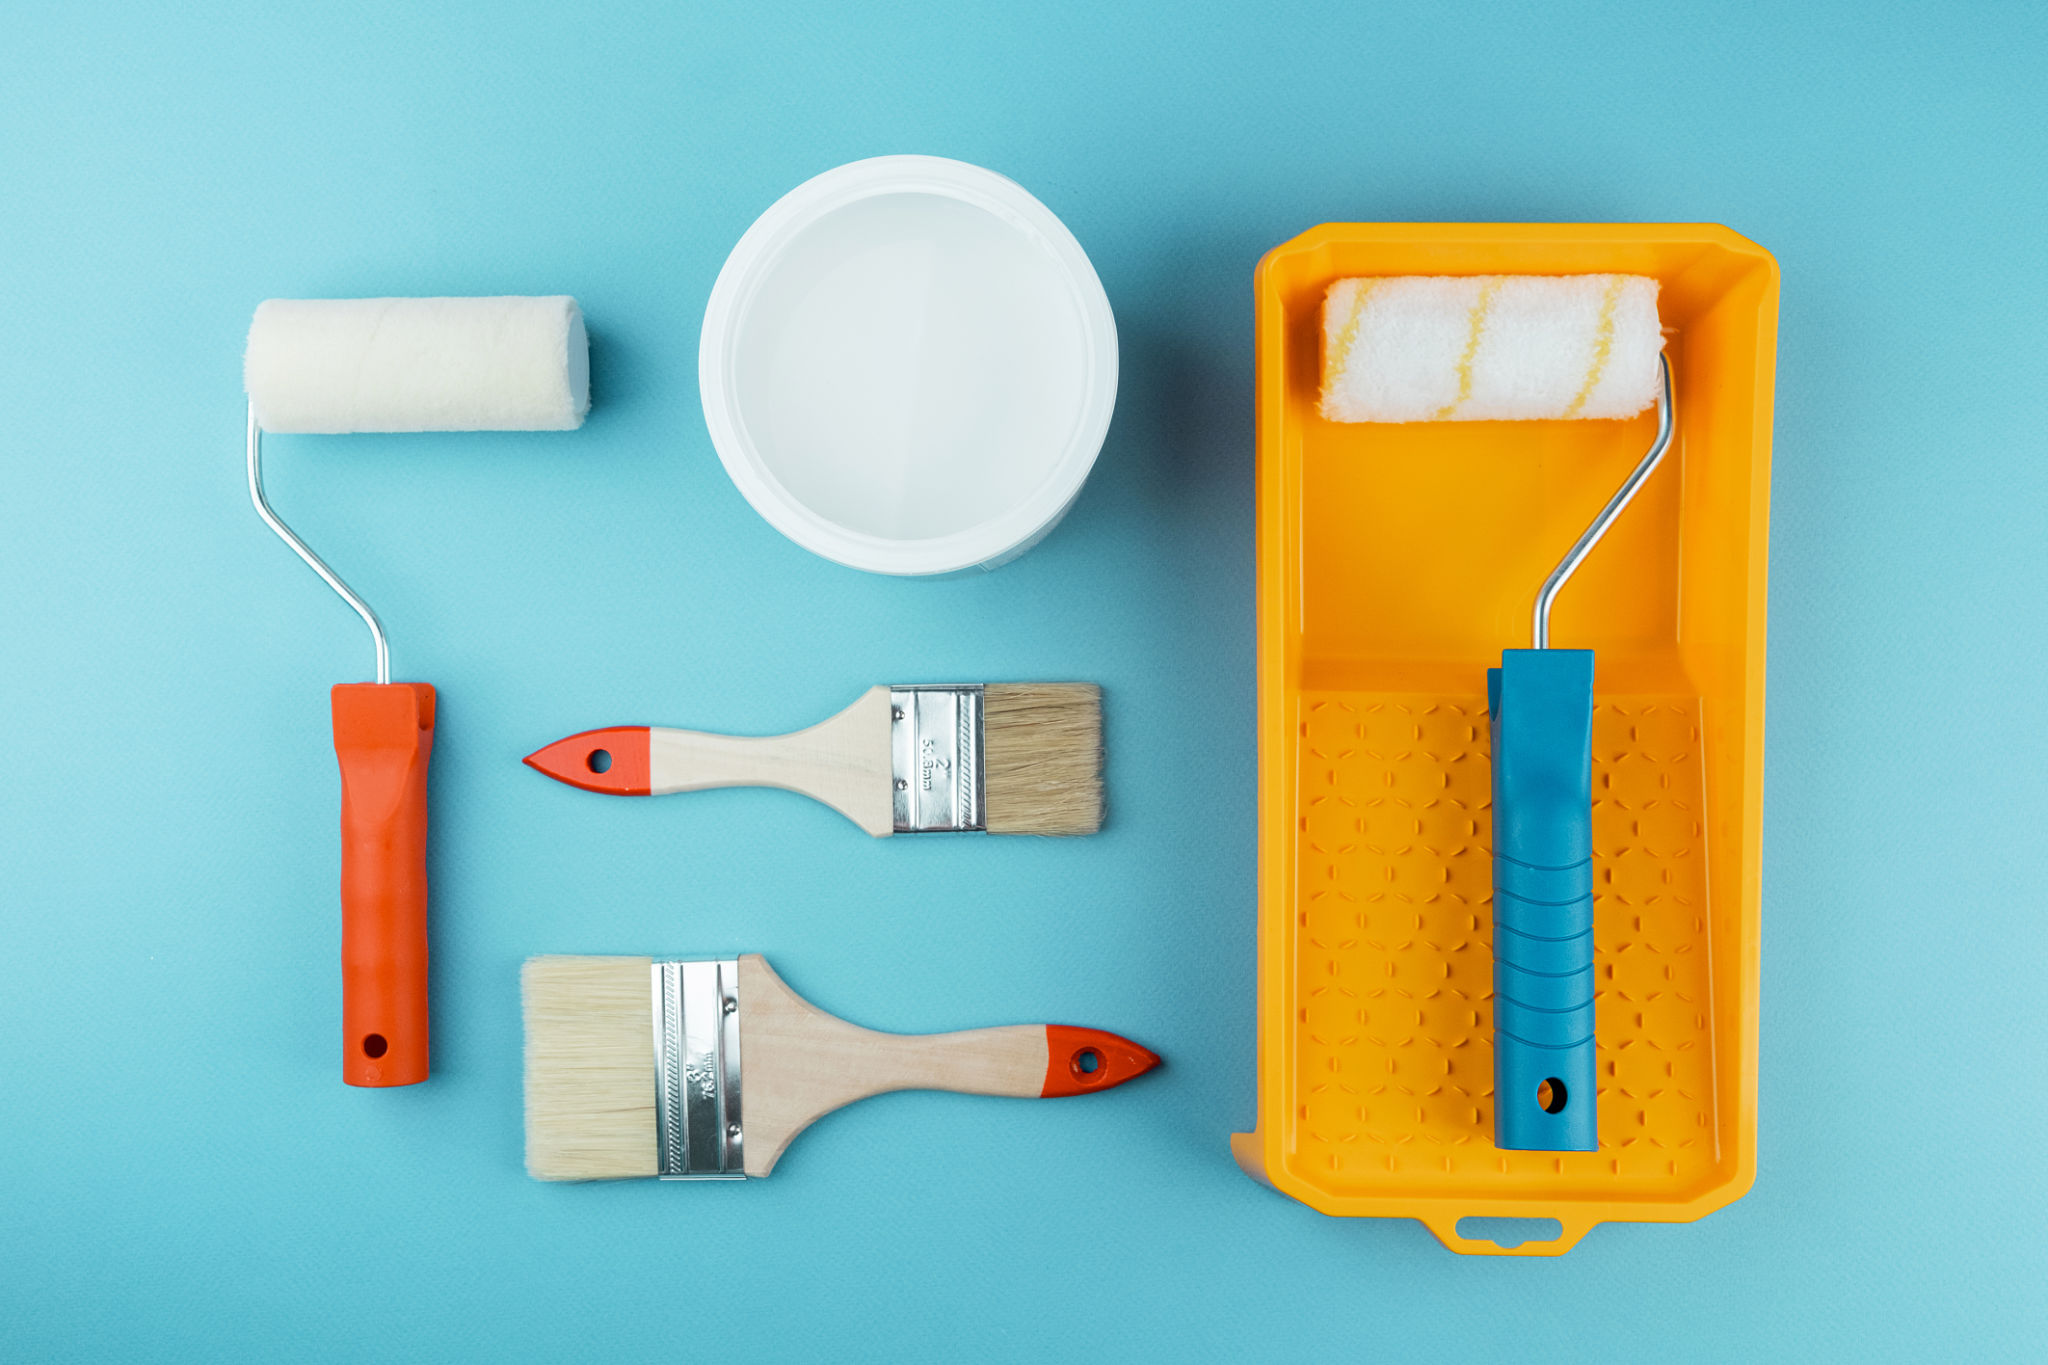
Equally important is choosing the right brushes or rollers. High-quality brushes and rollers can make a significant difference in your painting results. Always match your tools to the type of paint you're using, whether it's oil-based or water-based, to ensure smooth application and finish.
Overloading the Brush or Roller
It's tempting to load up your brush or roller with lots of paint to speed up the process, but this often leads to drips and uneven layers. Instead, dip your brush or roller lightly into the paint and gently tap off excess on the side of the can.
When applying paint, use long, even strokes to ensure an even coat. If you're using a roller, start with a “W” shape on the wall and fill it in without lifting the roller too frequently. This method helps distribute the paint evenly across the surface.
Neglecting Proper Taping Techniques
Proper taping is essential to achieve clean lines and protect areas that should not be painted. Many people either skip this step or fail to apply the tape correctly, resulting in unsightly bleeds and uneven edges.
To avoid this mistake, invest in quality painter's tape and take your time applying it to the edges of trim, windows, and ceilings. Press down firmly along the tape's edge to ensure it adheres well. Once you've finished painting, remove the tape at a 45-degree angle while the paint is still slightly wet for the best results.
Ignoring Drying Times
Patience is key when it comes to painting. Ignoring recommended drying times between coats can lead to a tacky finish and even ruin your hard work. Always read the manufacturer's instructions on the paint can for guidance on drying times.
Keep in mind that factors like humidity and temperature can affect drying times. Ensure that your painting environment is well-ventilated and at an appropriate temperature to facilitate proper drying.

Avoiding these common painting mistakes can save you time, effort, and money while achieving a professional-looking result. With careful preparation and attention to detail, your next painting project can be a success.